Anyone who knows me knows that I love my arts and crafts and DIY projects. You don’t have to mention DIY twice… I am right there!!!
For the past few years, I have been moving towards using healthier natural products. I take time to read ingredient labels on bottles to make sure the products I am putting on my skin doesn’t have any harmful ingredients.
Over the winter months, my skin usually takes a beating. Living in Toronto during the winter months can be a tad bit cold. This winter has been the coldest in years (can you see the cold air coming from my mouth?). With the cold weather comes dry skin, no matter how much moisture I apply. Adding more insult to injury, Working in the healthcare field where I have to wash my hands repeatedly adds to the dryness as well. My hands take a good beating!
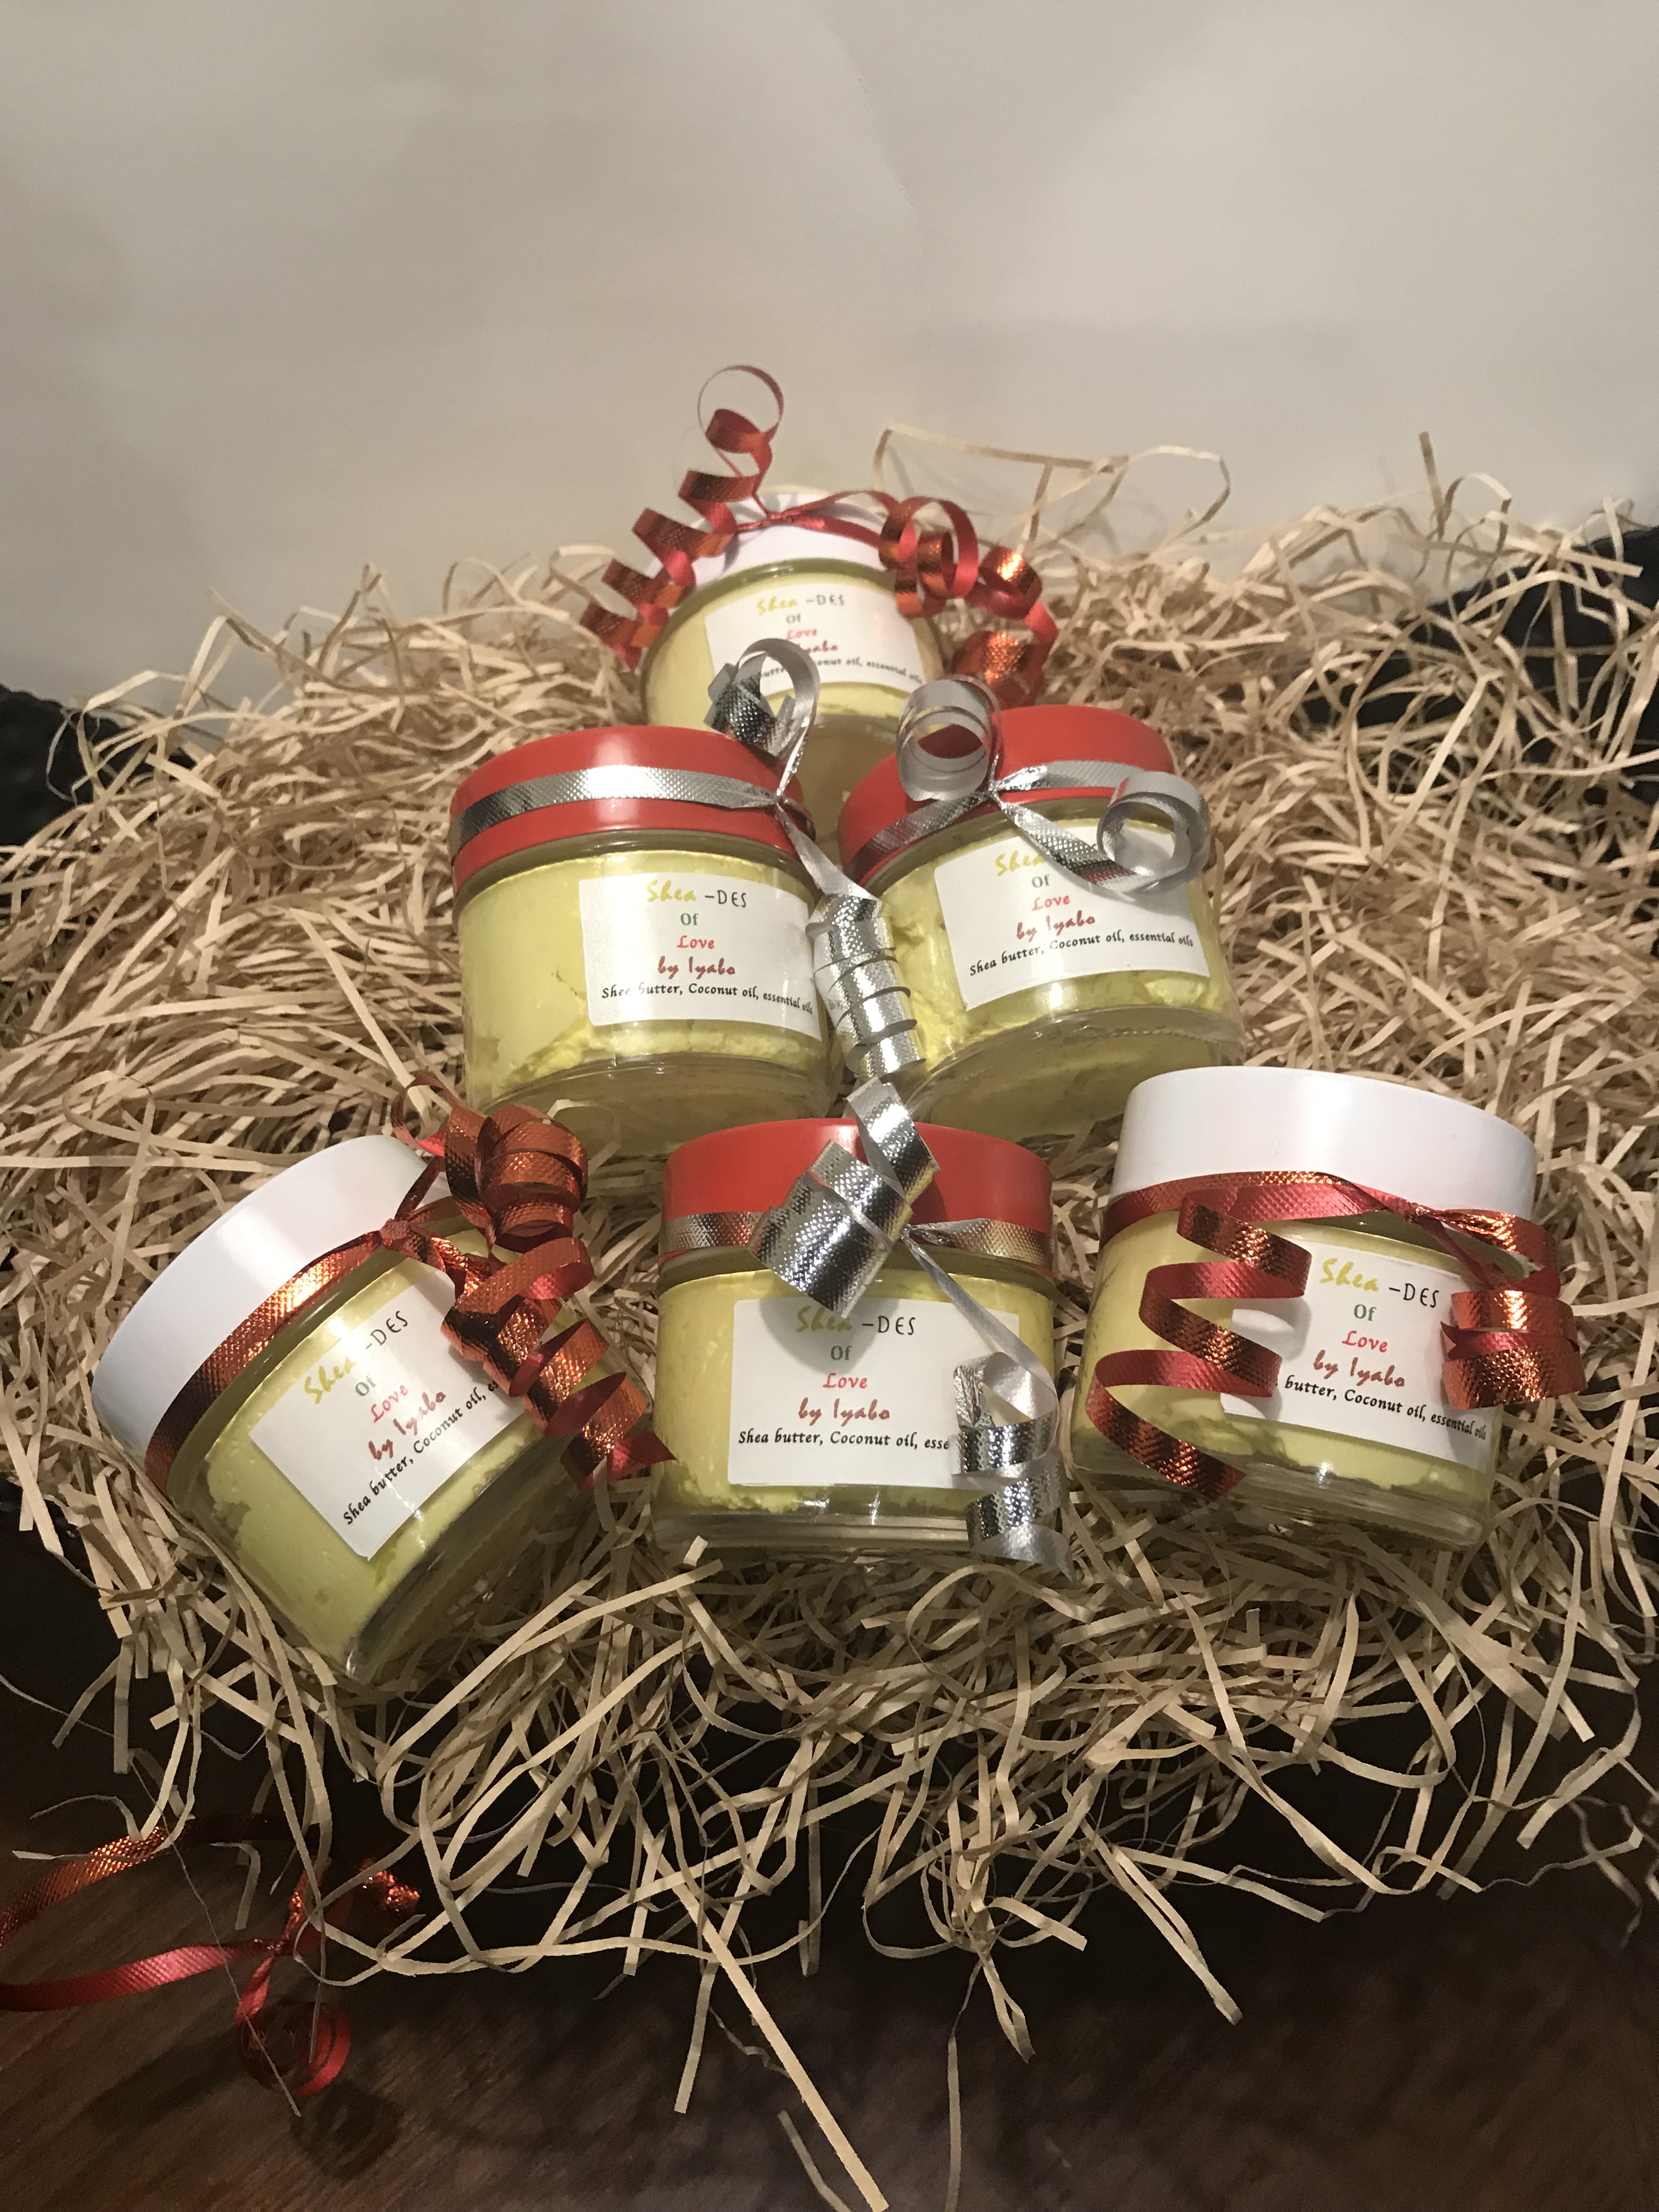
For the second year in a row, I decided to make a batch of the whipped Shea Butter creams for giveaways at our Christmas dinners and let me tell you, they are a DIY HIT! I got introduced to making this fantastic body cream from a friend and now its a staple skin product for me. My skin is addicted to this nourishing cream as it a provides perfect moisturizing protection during the harsh winter months.
Shea butter is known for being very moisturizing and nourishing to the skin. Shea butter helps to soothe many skin ailments. It also helps to improve skin blemishes, eczema, wrinkles and dermatitis. This is why I love making and using this product for my skin.
Ok enough about me, let’s get into making this wonderful skin moisturizing product.
To get started you will need to gather the following items:
- Blender
- Mixing bowl
- Spatula
- Spoon
- Pot (if you choose to do the melting method)
Ingredients:
( ingredients may vary depending on your liking)
- Shea butter
- Coconut oil
- Vitamin E oil
- Jojoba oil
- Castor oil
- Essential oils of choice (I used, lavender, peppermint)
Directions:
Heated method ( the method I used )
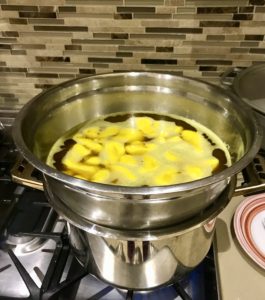
Melting Shea Butter in Mixing boil over a pot of hot water
- Break up your Shea butter and add it to the mixing bowl with the Coconut oil.
- Place the mixing bowl over a pot of boiling water to melt the Shea butter and Coconut oil.
- Once the items are melted, remove it from the heat and place it in the refrigerator or someplace cool to set.
- After it is set, you can begin to blend it until it becomes a whipped texture.
- You Can now add your remaining oils and essential oils and continue mixing until they are blended and whipped well. (we wait to add the essential oils at the mixing phase because if it is added to high heat, it can evaporate the oil and alter their therapeutic effects)
- Once you have the right consistency, then you are ready to jar your moisturizing butter cream. Glass jars are best to store them in as they will keep their oil properties better.
Non-Heated Method
- In the non-heated method, just add all your ingredients together at the beginning and blend to a whipped consistency then jar.
The difference between the two methods is the consistency and texture. I found that the non-heated version was fluffier and lighter and the heated version was thicker and creamier. With either method, they are both amazing and are great for use over the entire body.
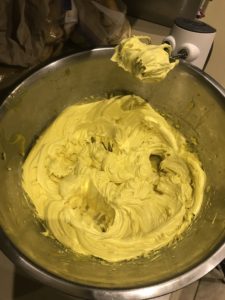
Whipped Shea Butter after being heated then cooled
Shea moisturizing body butter is a very quick easy and fun project to do by yourself or with friends and family. My six year old loved helping me with blending. He is looking forward to helping me with my next project.
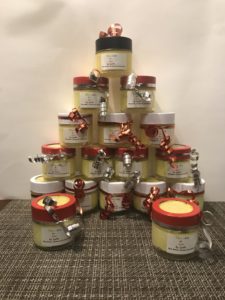
DIY Shea Butter gift jars
![]()